Go to Web Demo
This guide covers using Oz products from the very beginning to production.
Play with core functionality of our platform using our publicly available demo apps:
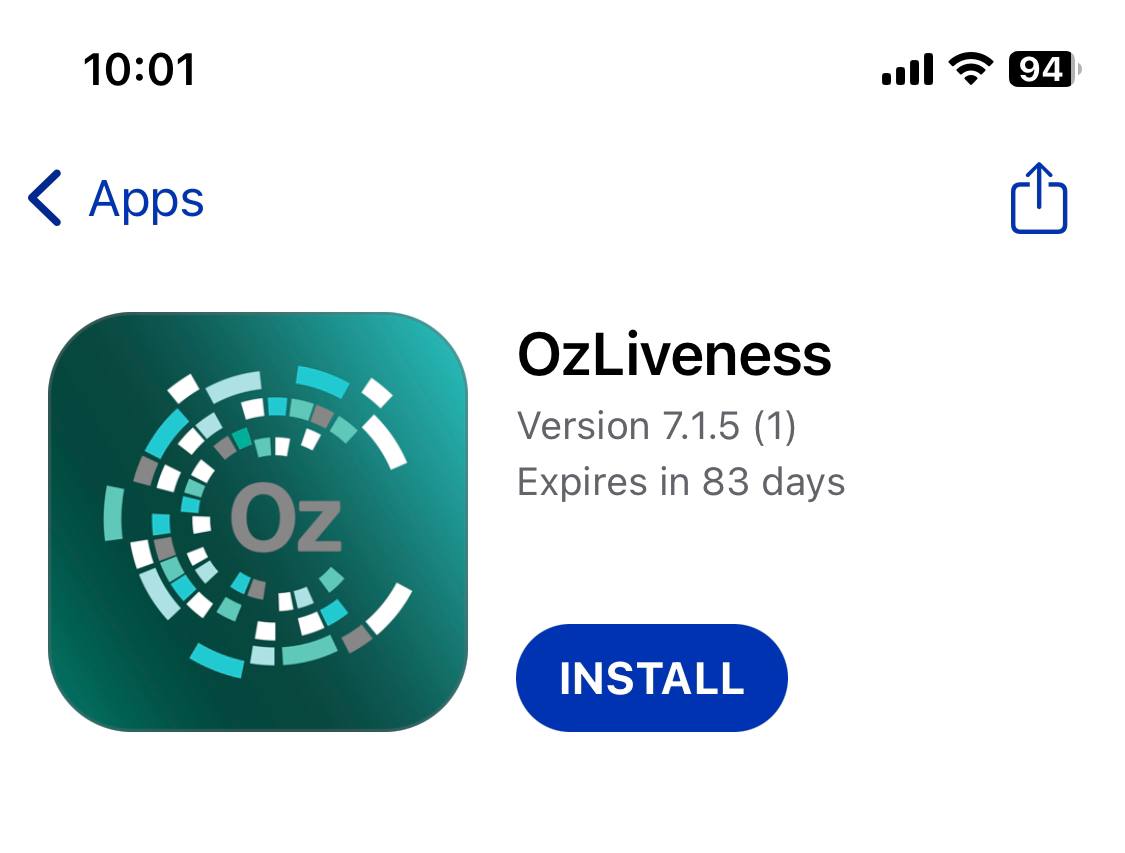
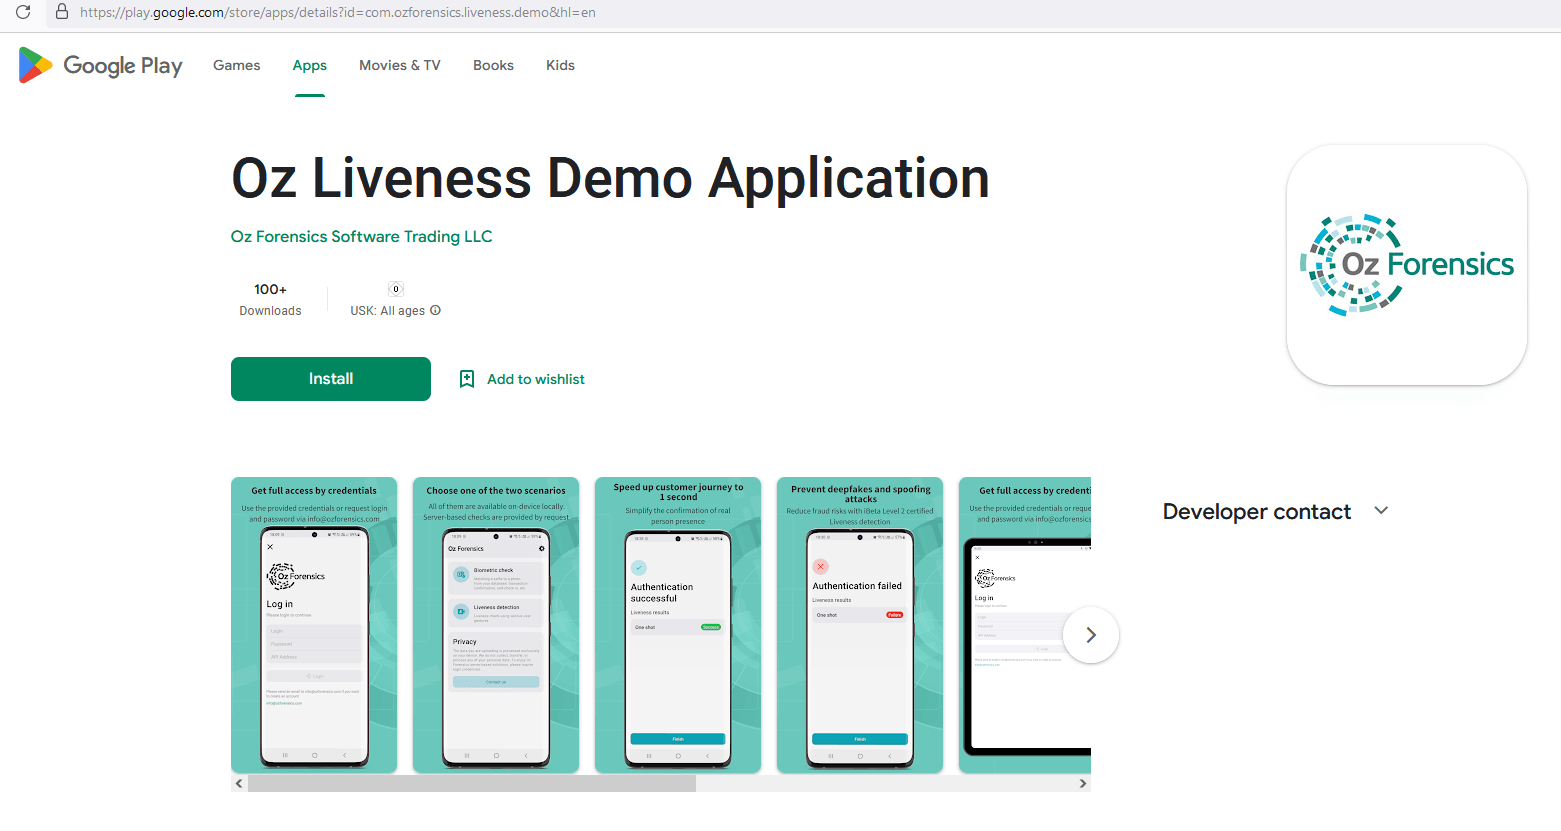
Capture videos on iOS and Android, test the on-device liveness and face matching,
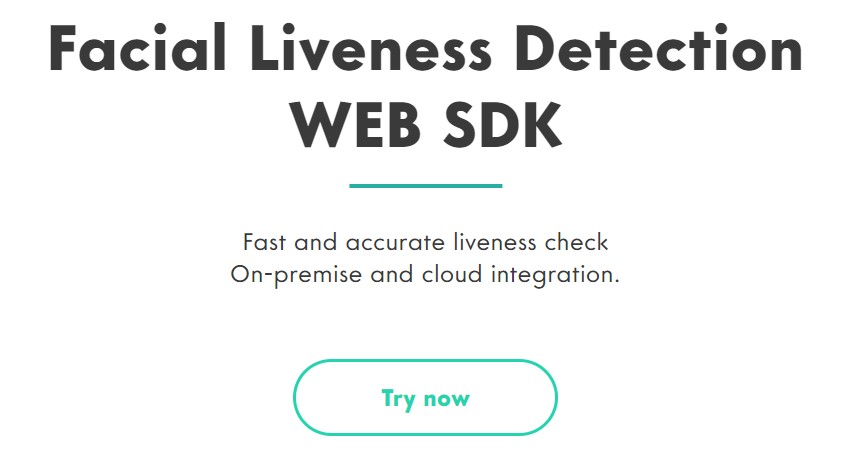
Capture videos via Web and check liveness.
Go to Web Demo
Download Android Demo
Contact us to get login and password to access the rest of Oz platform functionality:
Server-side liveness and face matching for mobile apps
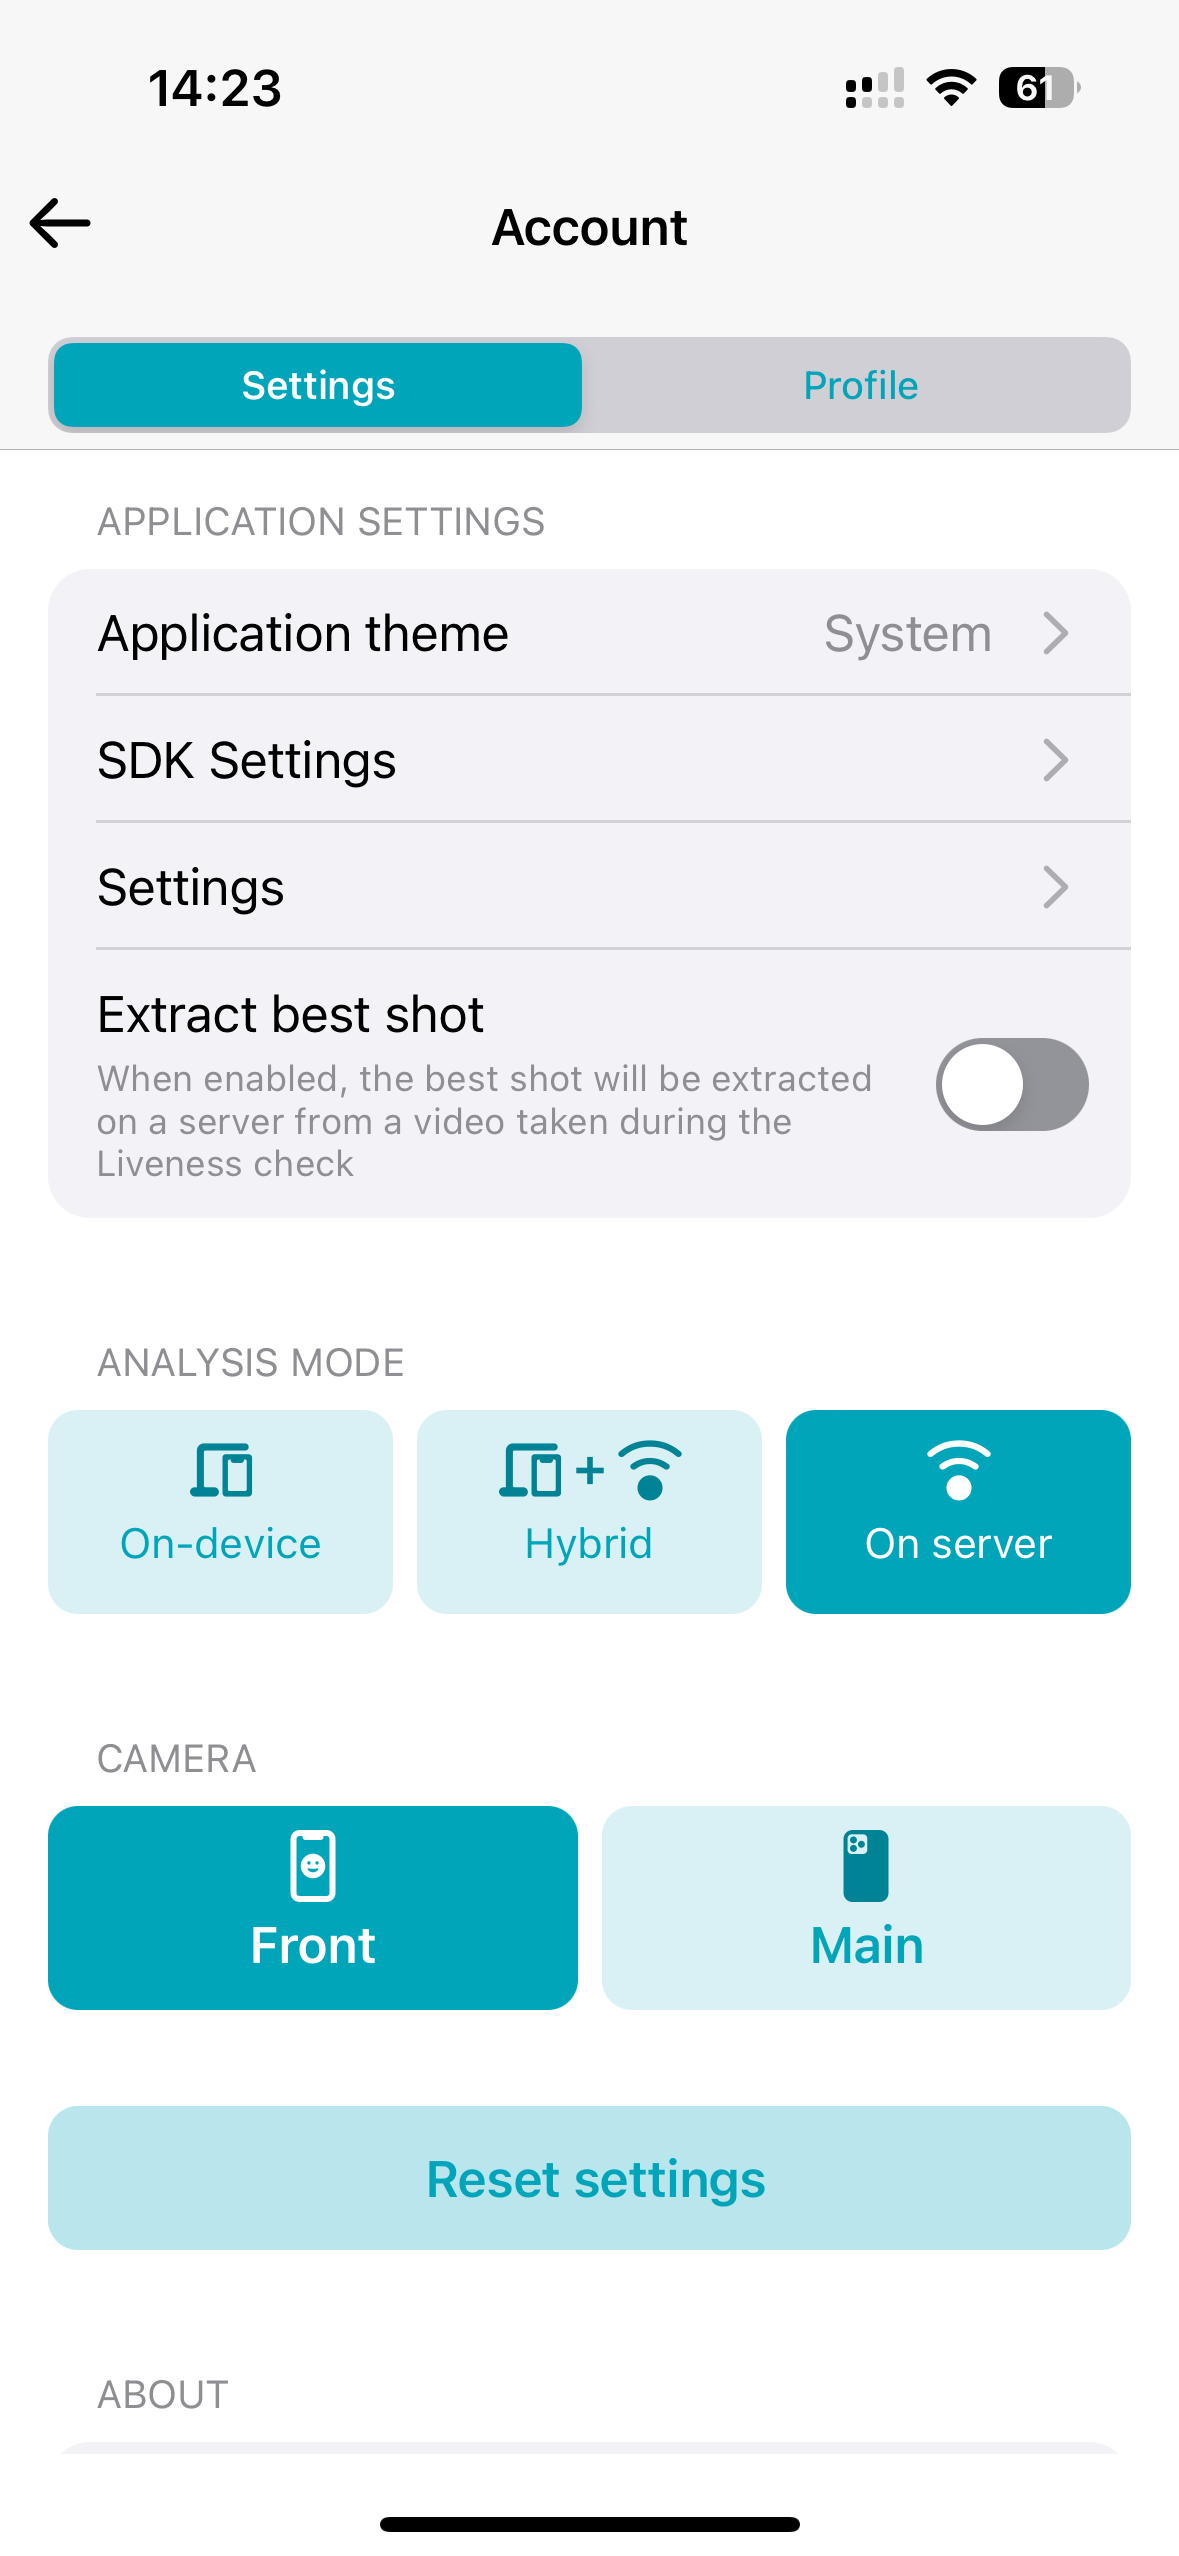
Switch between on-device and server-side modes in apps’ Account & Settings
The extended Web SDK Demo with more gestures and the biometry scenario:
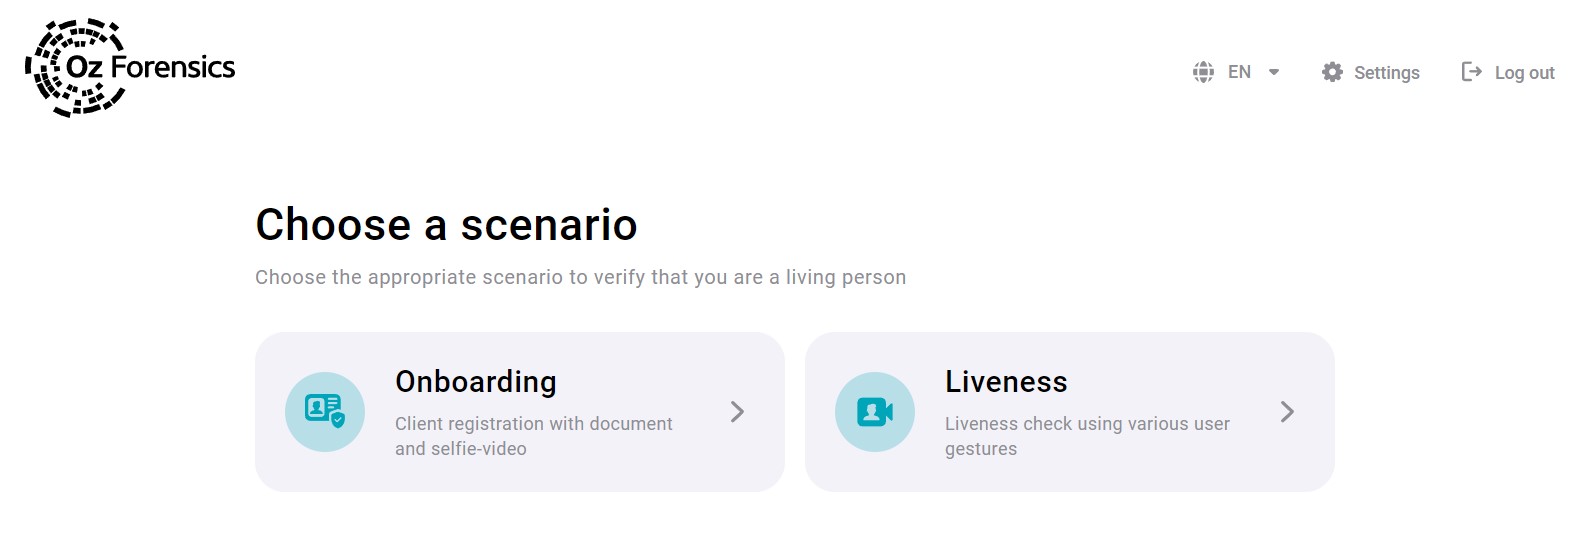
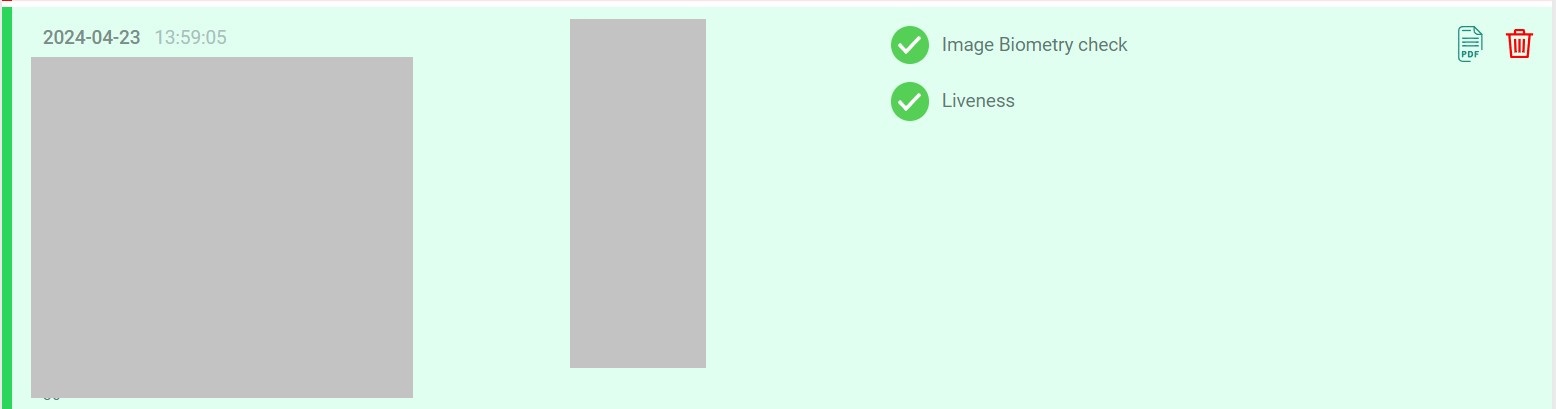
Web Console with the detailed information on your checks:
REST API
Even though liveness in API works best on the images captured with Oz SDKs, you can test it on your own datasets
Please note: the same credentials are used for:
With the tools described above, you can test the accuracy of our algorithms using your media files. Upload media, apply analyses to them, and check the result wherever convenient for you: the general verdict in the application, or detailed information in the web console.
At this step, documentation is usually enough to get things done, but don’t hesitate to contact us if you have any questions. We are happy to help.
Now you can try and integrate your applications and systems with our SDKs using sandbox.
Mobile app:
Web app:
Inform us that you want to try integration with Web SDK, and we will bring up a dedicated Web Adapter for you and give you a link.
Check out the Developer guide.
The license is bound to the domain names of the pages you will be calling our SDK from. Send them to us so that we can configure the Web Adapter for you.
Oz API:
Check out the Developer guide.
API base URL: https://sandbox.ohio.ozforensics.com
Once we get the ID or URL with your contact information, we will email you the licenses and help with installation so that you can start implementing Oz Forensics Liveness and Face Biometric System into your IT infrastructure. Additionally, we provide you with technical support via Slack or another messenger. Your specialists and our engineers can work together to install, configure, and use Oz products. Communicating via a messenger maximizes the efficiency and speed of this process. To set up a chat, please provide phone numbers and names of your team members.
Once integration is tested and contract is signed, you move on to production stage:
For SaaS, you’ll be using one of our production cloud instances instead of the sandbox.
For this instance, you’ll get new:
Login and password,
API link,
Web Adapter link.
For on-premise installation, we will prepare an installation package for you to set API and Web Adapter to your infrastructure.
You get the productive licenses for your applications and start working with Oz products commercially. Your test licenses are being prolonged if needed – for instance, if you want to test them with new versions of your software. We continue to support you and provide you with all the information you need to use Oz products effectively. We are also open to improvements, so don’t hesitate to share your ideas. Your feedback is always appreciated!